Wi-Fi Protected Setup (WPS – requires WPS router)
These instructions are for customers who have already set up and installed the printer software. For
the first time installation refer to the setup instructions that came with the printer.
To connect the HP Deskjet 2540 series to a wireless network using WPS, you will need the following:
●
A wireless 802.11b/g/n network that includes a WPS-enabled wireless router or access point.
NOTE:
The HP Deskjet 2540 series only supports connections using 2.4GHz.
●
A desktop computer or laptop is with either wireless networking support, or a network interface
card (NIC). The computer must be connected to the wireless network that you intend to install
the HP Deskjet 2540 series on.
NOTE:
If you have a WPS router with a WPS push button, follow the Push Button method. If you
are not certain your router has a push button, follow the Wireless Settings Menu method.
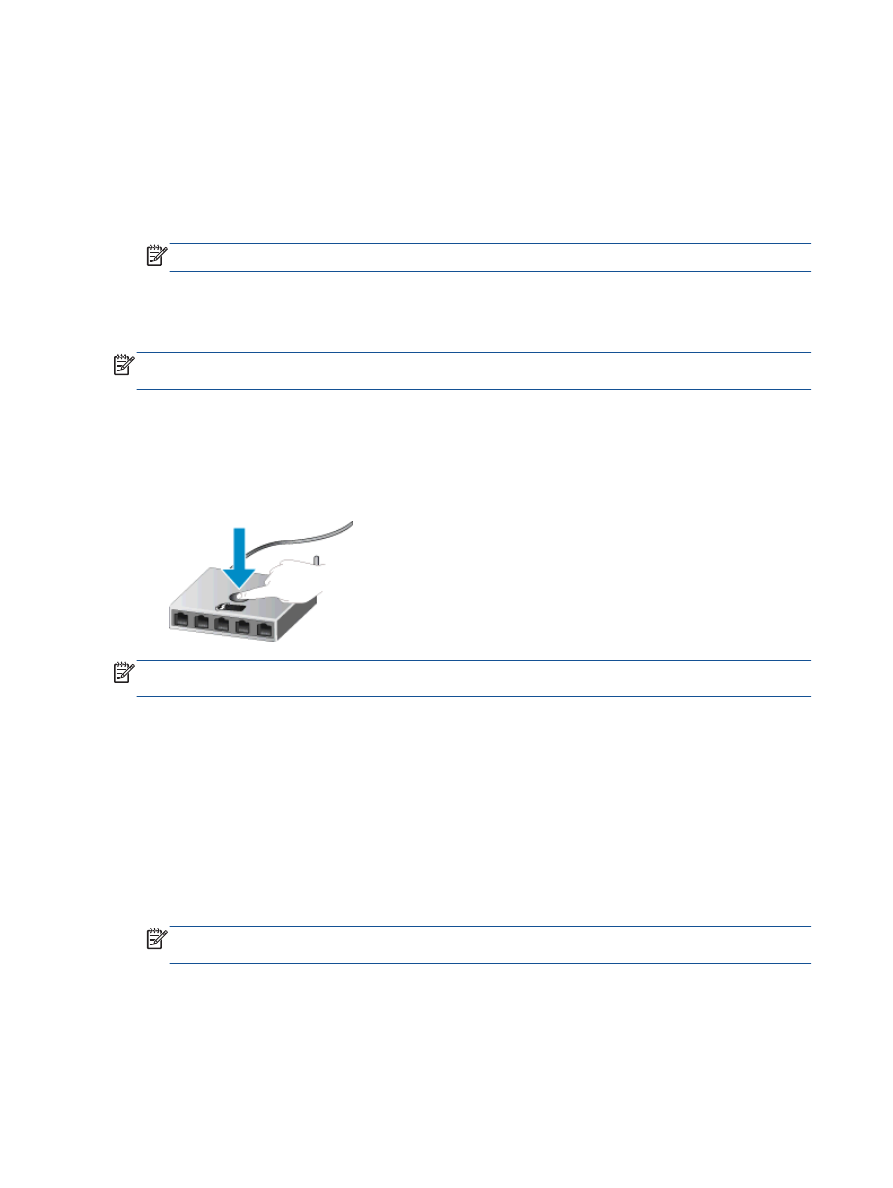
Push Button Configuration (PBC) method
1.
Press and hold the
Wireless
button on the printer for more than 3 seconds to start WPS push
mode. The
Wireless
status light starts blinking.
2.
Press the WPS button on your router.
NOTE:
The product begins a timer for approximately two minutes while a wireless connection is
established.
PIN method
1.
Press the
Wireless
button and
Start Copy Black
button at the same time to print the network
configuration page, and then locate a WPS PIN.
The WPS PIN is printed at the top of the printed information page.
2.
Press and hold the
Wireless
button from the printer control panel for more than 3 seconds. The
Wireless
status light starts blinking.
3.
Open the configuration utility or software for the wireless router or wireless access point, and
then enter the WPS PIN.
NOTE:
For more information about using the configuration utility, see the documentation
provided with the router or wireless access point.
Wait for about 2 minutes. If the printer connects successfully, the wireless light stops blinking but
remains lit.
48 Chapter 7 Connectivity
ENWW